Below is my Savor your Scraps presentation from East Pierre Landscaping’s Earth Day celebration.
Homemade stock is your “go to” for scraps. I have a gallon bag in my freezer at all times. As I use vegetables, I toss the scraps into the bag. When it’s full, I make vegetable stock. My bag may include any of the following:
- Carrot ends and peels
- Celery leaves and ends
- Garlic ends
- Mushroom trimmings
- Parsley stems
- Leek trimmings
- Onion skins and trimmings
- I usually don’t use red onions because it affects the color of the stock. The flavor is fine, but the color will be a little red.
How I make vegetable stock…
Remove bag of scraps from the freezer. Heat a large stock pot over medium heat. Once hot, drizzle with a couple tablespoons olive oil and add the bag of scraps. I like to let them brown a little, which helps develop the color of your stock. Once to a nice golden brown you like, fill the pot with water leaving 2 inches at the top. Add a bay leaf & large spoon of yellow miso, if you’d like. Bring to a boil and then reduce heat to a simmer. Simmer for 45 minutes, cool, and strain. Package the stock in 1 or 2 cup portions in the freezer. I don’t add salt, but you can. Just be sure not to over salt the stock.
Greens, all kinds of greens are your best friend in the summer! Sauté a variety of greens in olive oil with a little garlic. Finish with a drizzle of aged balsamic vinegar or a squeeze of lemon and fresh shaved Parmesan. Toss greens into a lettuce salad for a nice flavor addition and crunch. Stir greens into summer soups. Add them to your weekly summer stir fry!
- Beet greens
- Broccoli greens
- Cauliflower leaves
- Celery leaves: Bright and flavorful addition to salads!
- Fennel fronds: Add a unique flavor to salads!
- Kohlrabi leaves
- Radish greens
- Turnip greens
Radish, Apple, & Blue Cheese Salad
- 1 bunch radish (thinly sliced) greens (chiffonade)
- ½-1 apple (thinly sliced)
- Blue cheese (crumbled)
- Honey
Directions:
1) Layer radish slices on a platter.
2) Top with crumbled blue cheese.
3) Spread apple slices on top.
4) Sprinkle with honey & finish with greens.
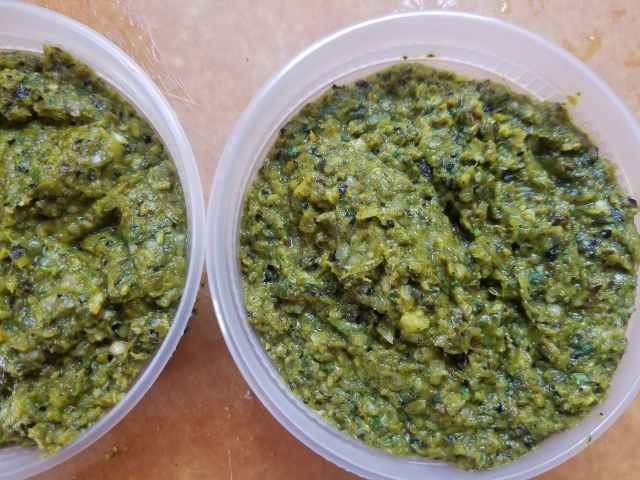
Make pesto! It’s amazing all of the scraps you can turn into scrumptious pesto.
- Beet greens
- Carrot tops
- Fennel fronds
- Radish greens
- Turnip greens


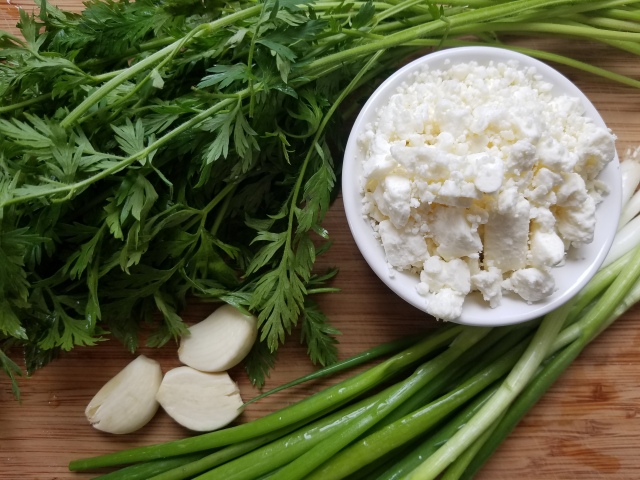
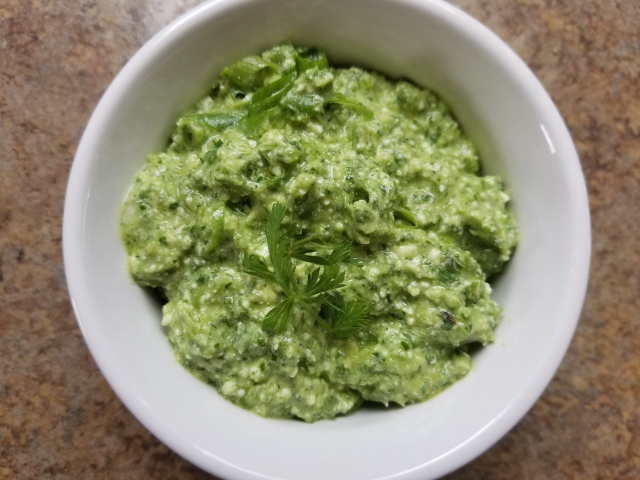
Carrot Top Pesto
- 1 clove garlic, smashed
- 1 cup packed, chopped carrot tops
- ½ cup packed, chopped cilantro, parsley, or basil
- ½ cup toasted walnuts, almonds, or pistachios
- ¼ lime, juiced
- ½ cup olive oil
- 4 oz feta, Parmesan, or goat cheese
- Salt & pepper to taste
Directions
- Pulse garlic clove, carrot tops, cilantro, walnuts, & lime juice in food processor until well mixed.
- Turn on high and drizzle in olive oil until combined.
- Add feta & process until smooth.
- Salt & pepper to taste.
Carrot Top Tyrosalata
- 3 cloves garlic, smashed
- 1 cup packed, finely chopped carrot tops
- 1 bunch scallion, finely chopped
- ½ teaspoon salt
- ¼ teaspoon pepper
- 2/3 cup olive oil
- 4 oz feta
- 1 Tablespoon lemon juice
Directions:
- Pulse garlic cloves in food processor.
- Add carrot tops, white & light green parts of scallion, salt, & pepper. Process until well combined.
- With food processor on high, slowly pour in olive oil and lemon juice.
- Once incorporated, add feta.
- Stir in dark green scallion pieces.
Serve either of these tossed with pasta, spread on crusty bread, alongside roast chicken, pork, steak, & salmon, dollop on roasted carrots and other roasted vegetables, or slather on a burger with tomato & mozzarella.
Apple Peels can be dried and added to tea (sun tea/hot tea) while brewing. Make your own pectin.
Cauliflower & Cabbage Cores are surprisingly tasty. Slice and add them to a stir fry.
Citrus Peels can be dried. Add to tea (sun tea/hot tea) while brewing. Add to the pan when frying meat.
Corn Cob Stock is wonderful! Anytime we are freezing corn for winter consumption, we always set back some corn cobs to make stock. You can make it super simple or jazz it up with a few herbs. The easiest way is simply corn cobs and water. Feel free to add a bay leaf, some fresh thyme, and/or parsley stems. Bring to a boil, then reduce heat to a simmer for 1 – 1 ½ hrs. Strain, cool, and use/freeze.
Kale, Swiss Chard, & Collard Stems are delicious!!
Potato Peelings, simply toss with a little oil and bake in a 400 degree oven for 15-20 minutes.
Roast Pumpkin/Winter Squash Seeds for yummy snacks! If you don’t want to roast them right away, simply toss them in a freezer bag and roast them later. Be sure to leave some of the “gunk”. It is super tasty when roasted, crunchy, and salty.